
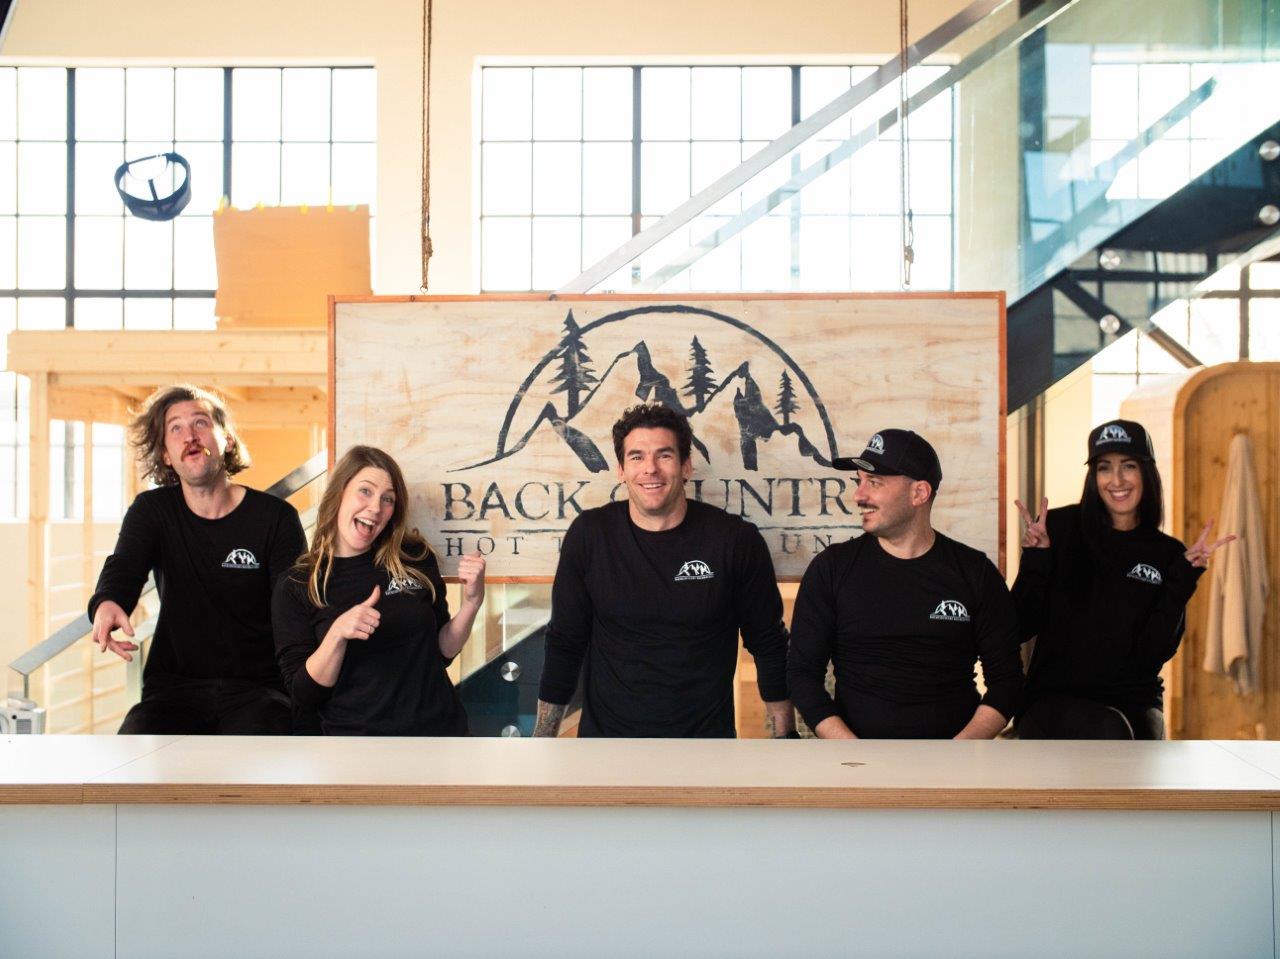
Your Wellness Journey Begins With Us
Shop Your Getaway
-

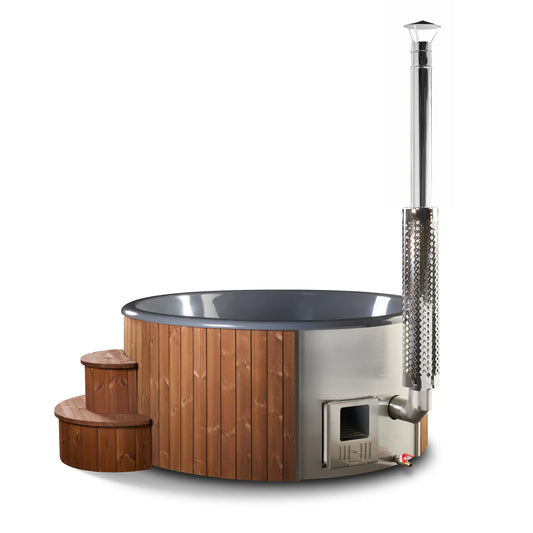
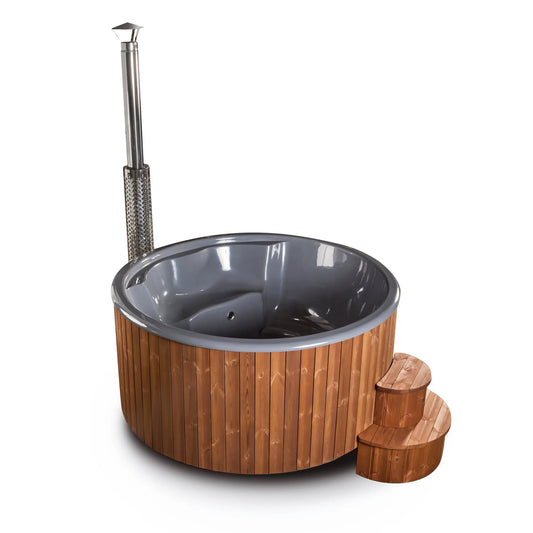
Hot Tubs
Backcountry Recreation offers a full line of electric & wood burring heated...
-
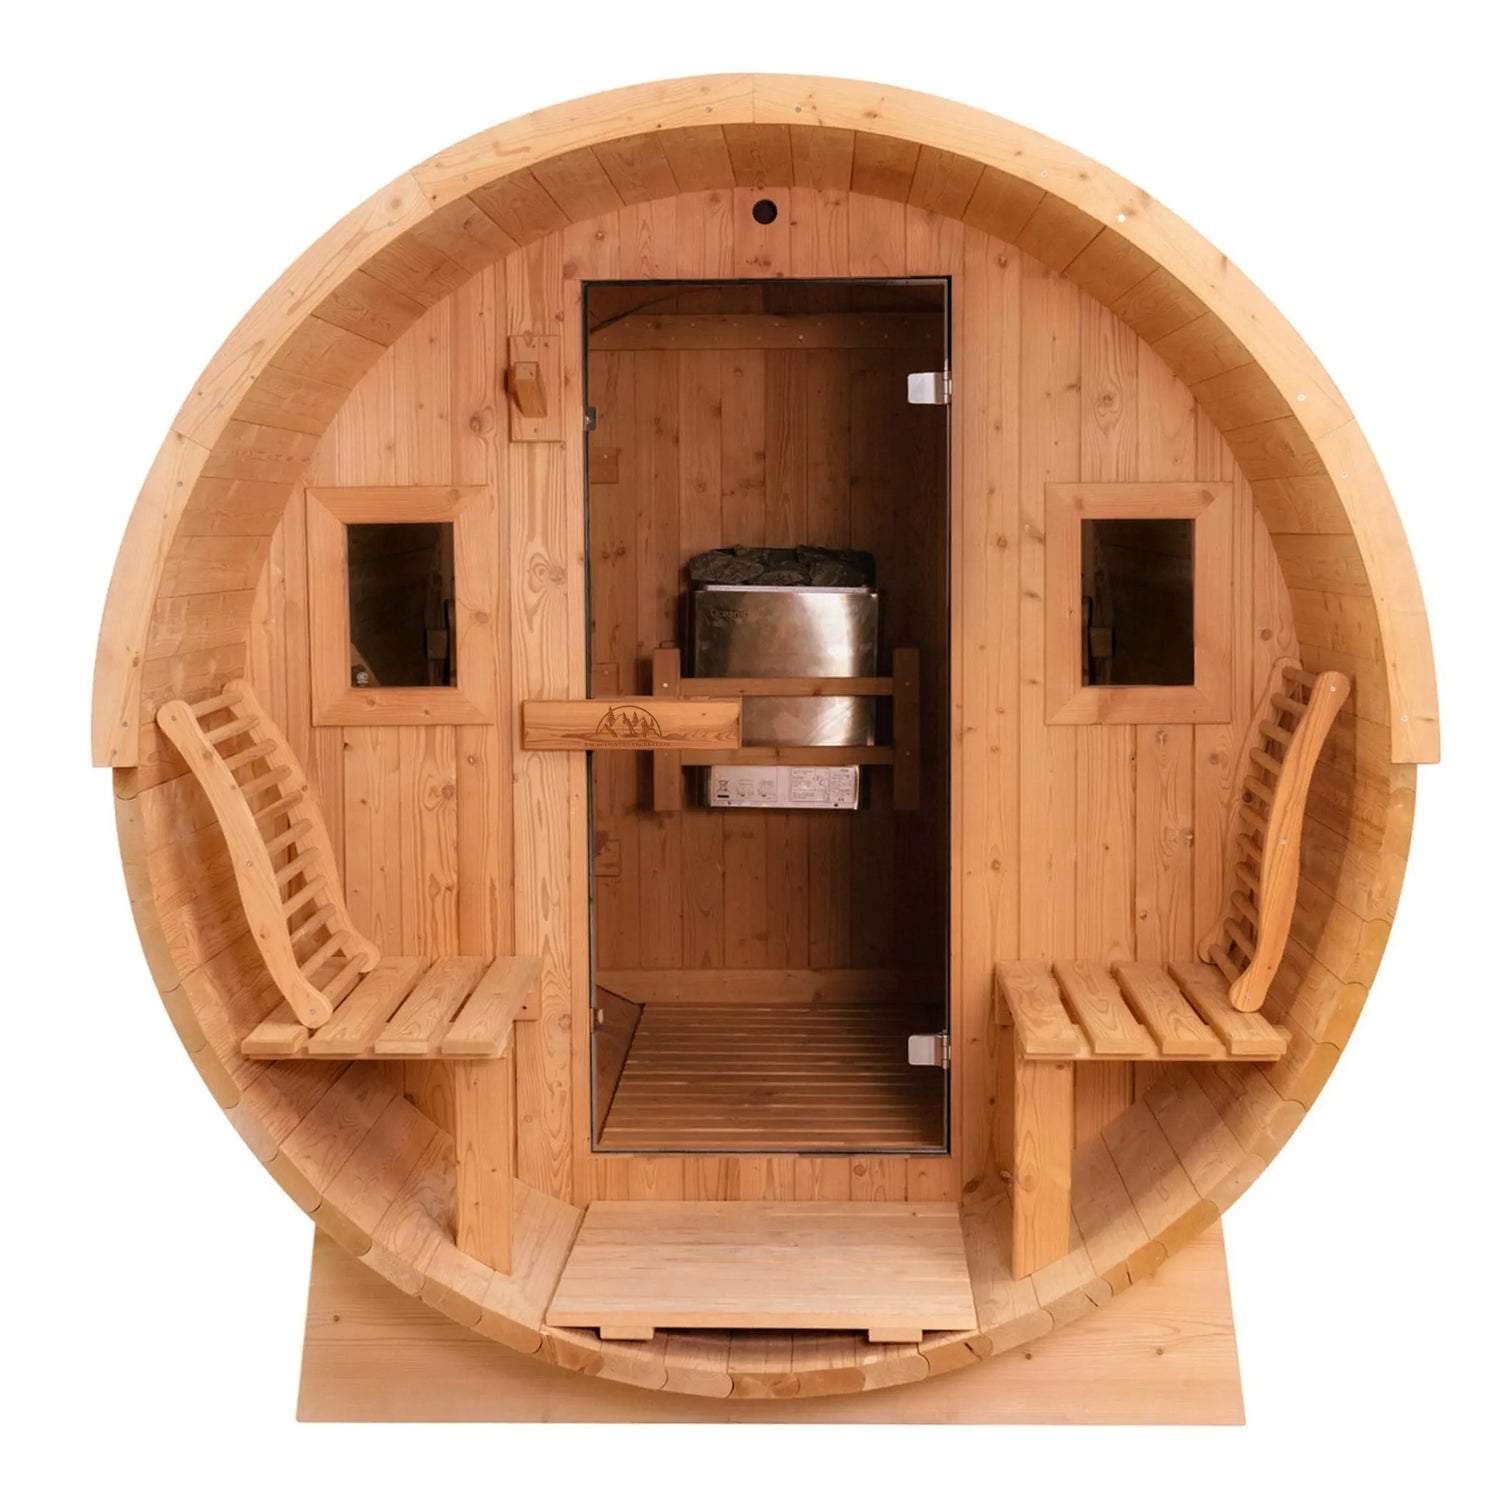
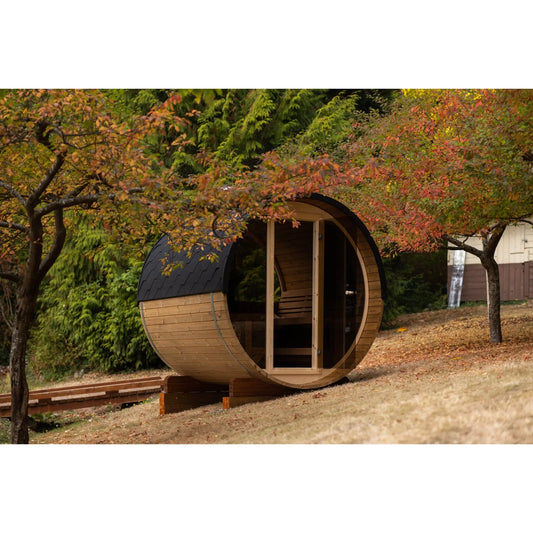
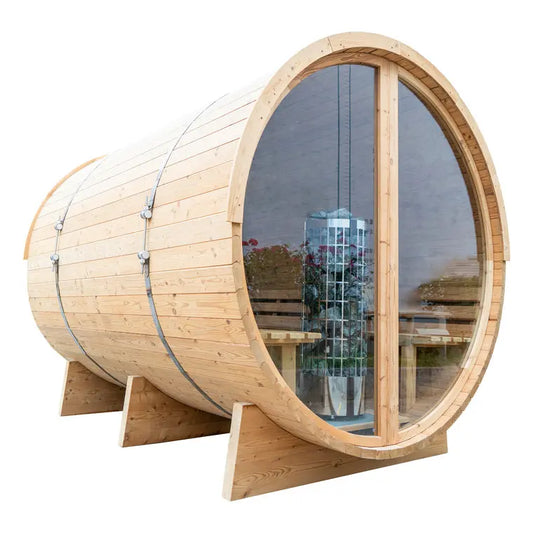
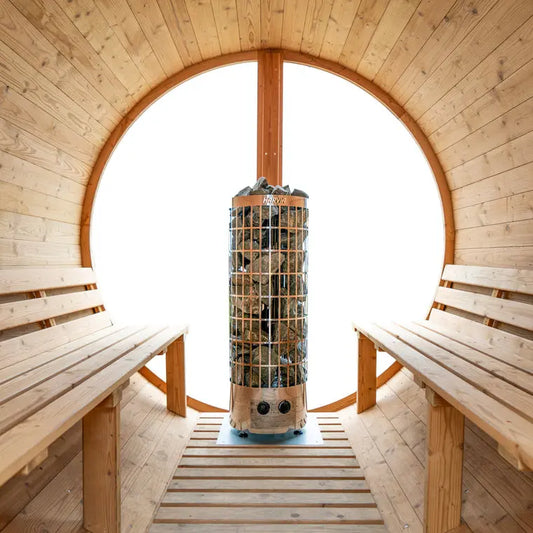
Outdoor Saunas
THIS IS THE YEAR TO INVEST IN YOURSELF AND YOUR BACKYARD WITH A...
-
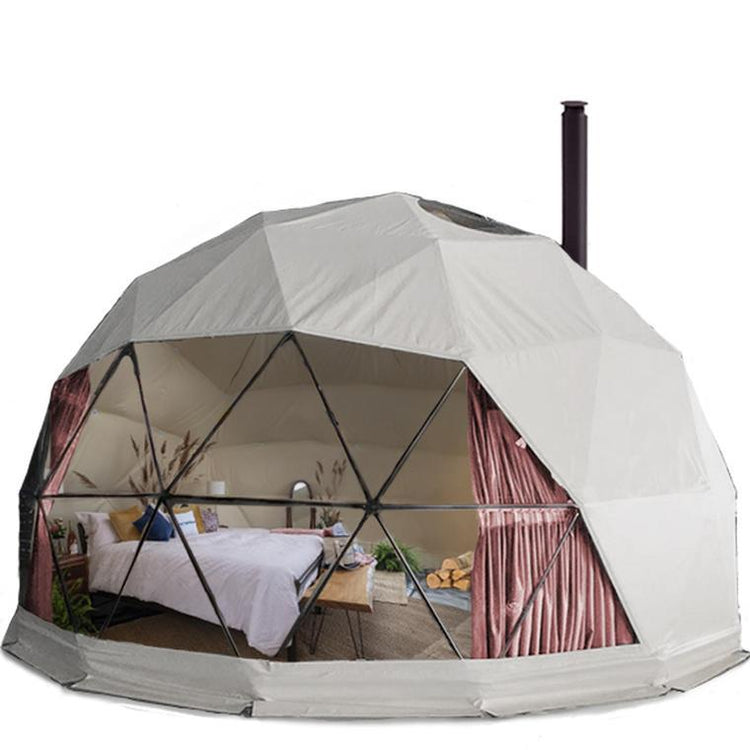
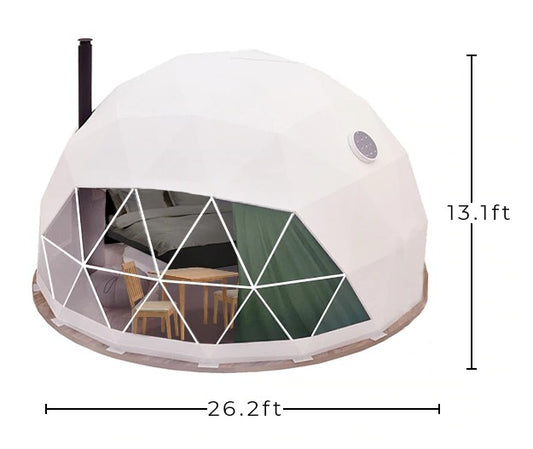
Geodesic Dome Tents
Geodesic Domes have become a very exciting trend in global glamping and...
-
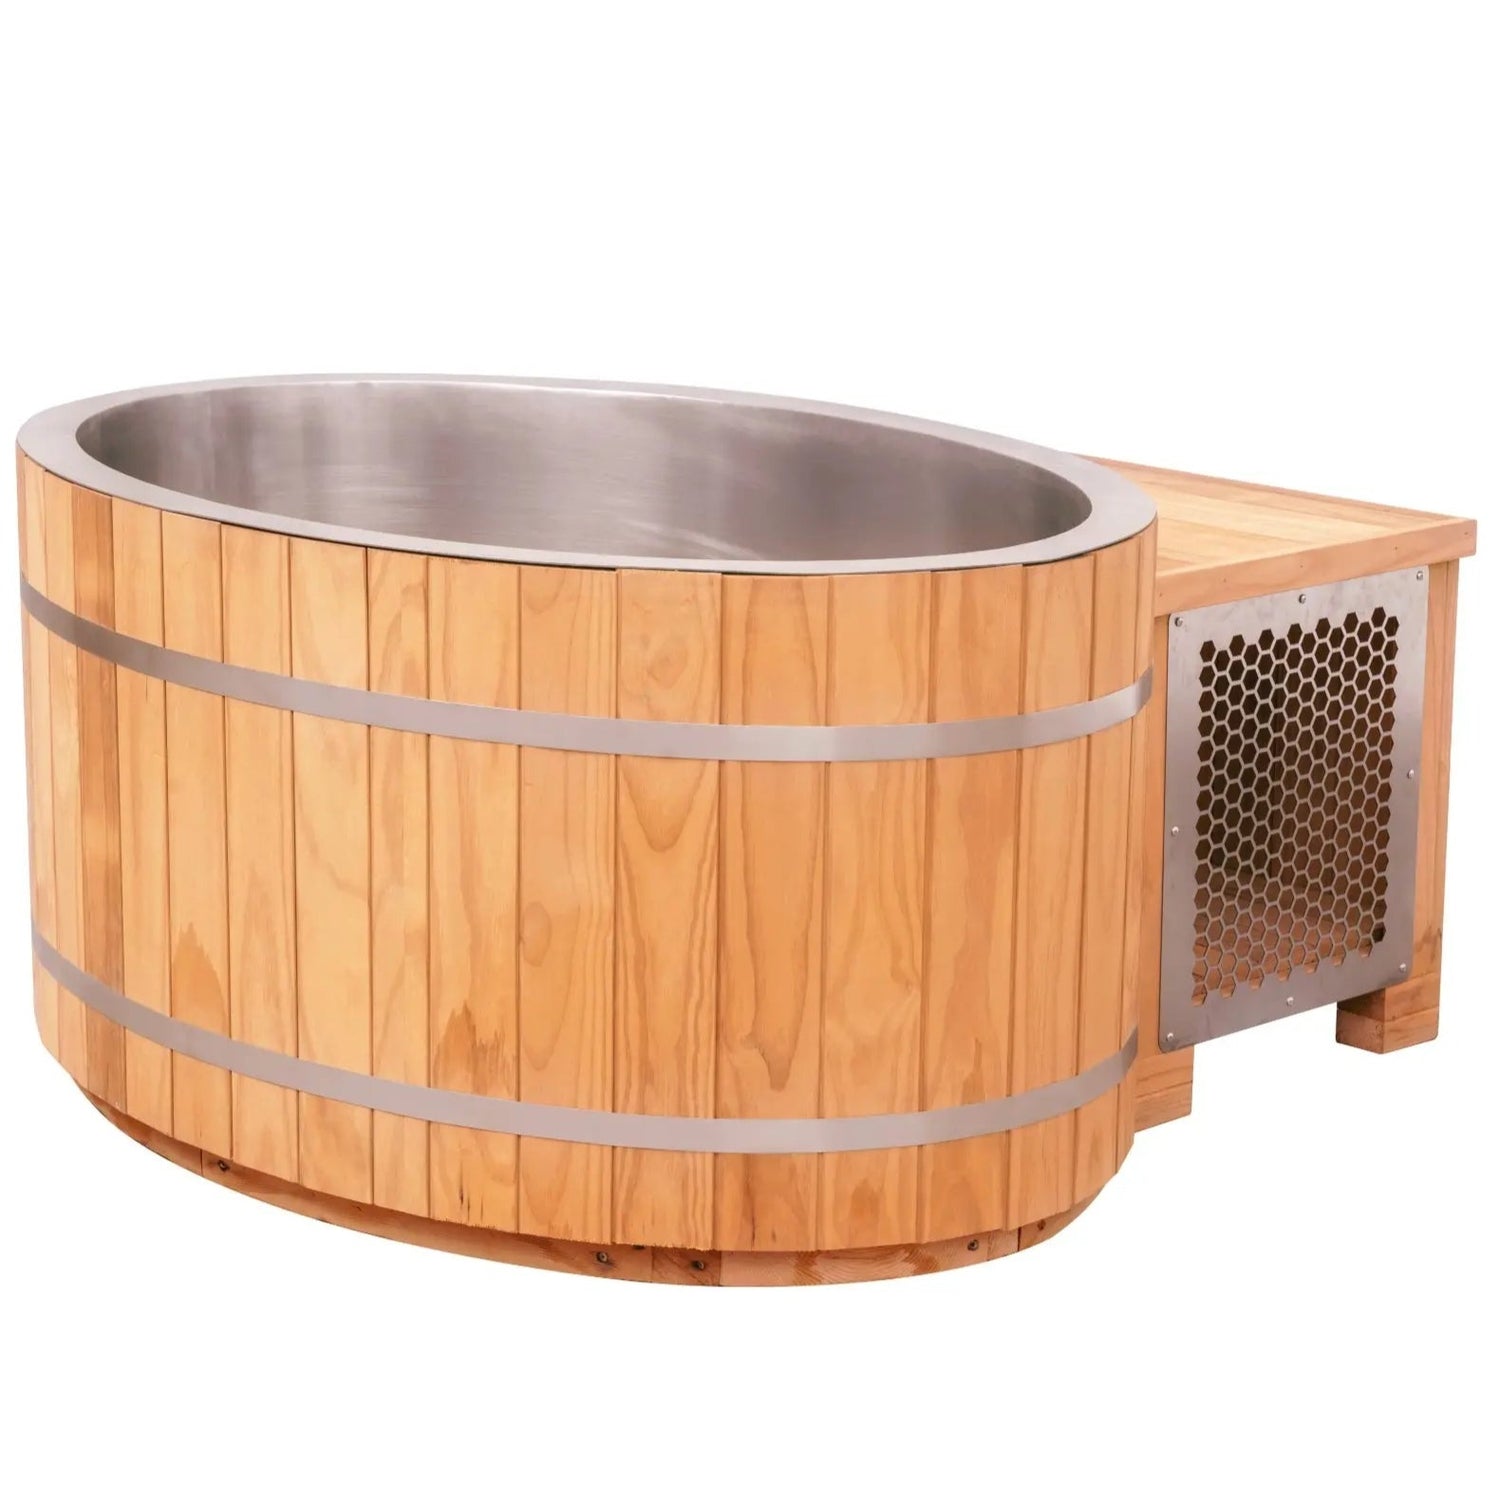
Cold Plunge
Immerse yourself in the invigorating world of cold plunging with our state-of-the-art...


Why Paradise With Us?
-

Local Quality Materials
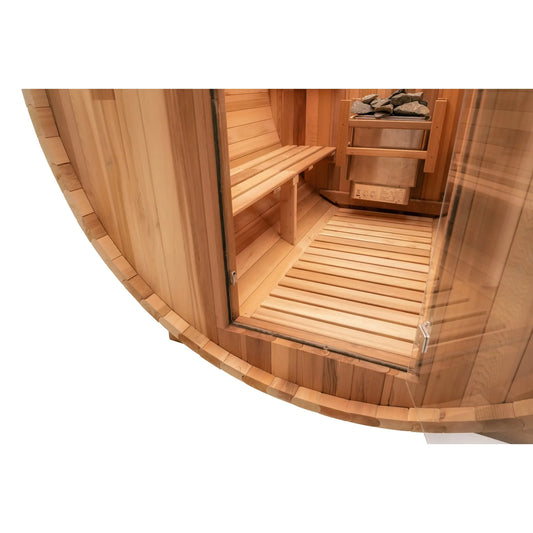
Our cedar hot tubs & saunas are made with the highest available grade clear Canadian western red cedar.
-

Expertise Support
We have a dedicated team of experts standing by to answer any questions to support your installation.
-

Warranty Guarantee
All outdoor saunas & hot tubs come with a 1-year limited warranty.


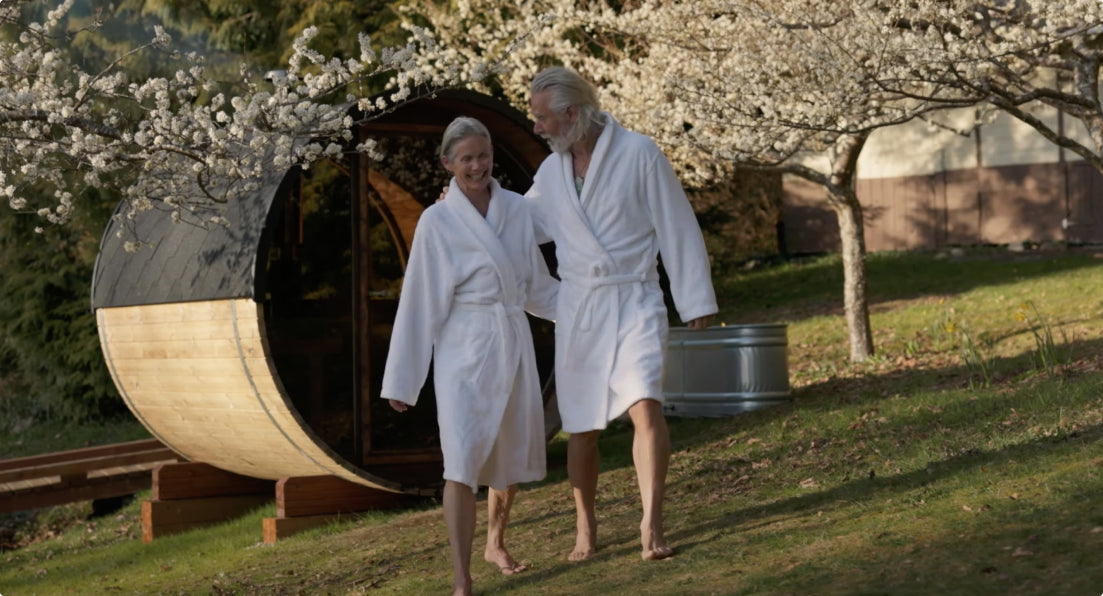
Customer Stories
Our Oasis in Your Backyards
-
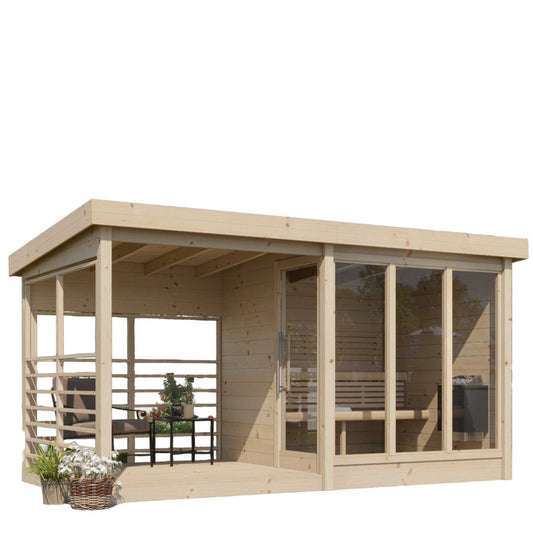
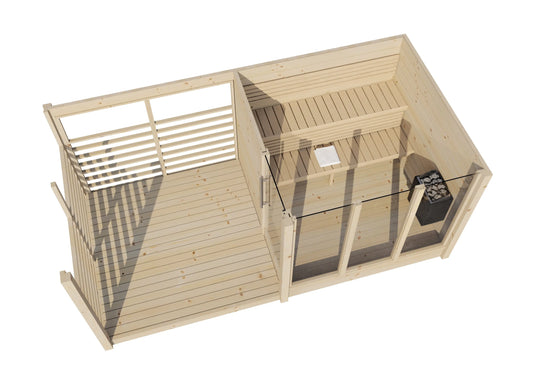
Modern Sauna - Terassi
Regular price $9,499.00 CADSale price $9,499.00 CAD Regular priceUnit price per -
 Sale
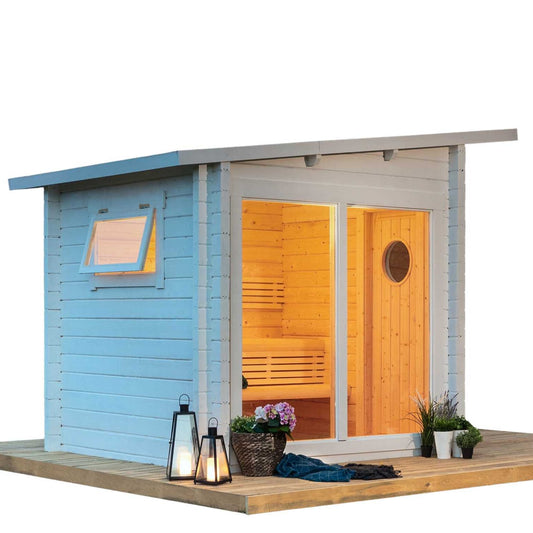
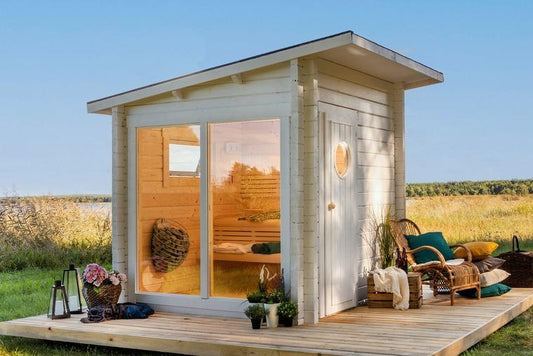
SaleModern Sauna - Higi
Regular price $9,499.00 CADSale price $9,499.00 CAD Regular priceUnit price per$10,299.00 CAD -
 Ready to Ship Now
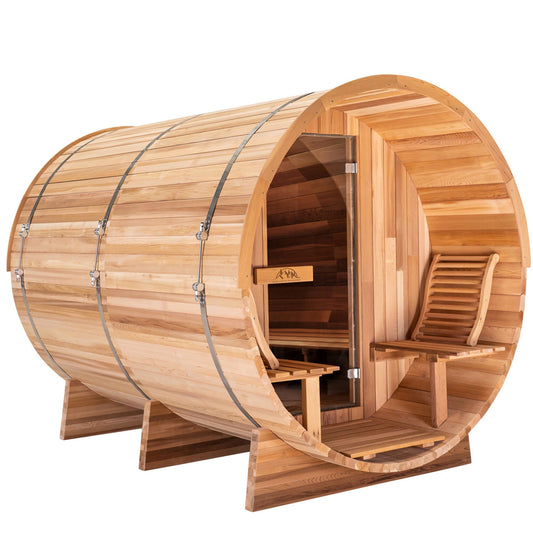
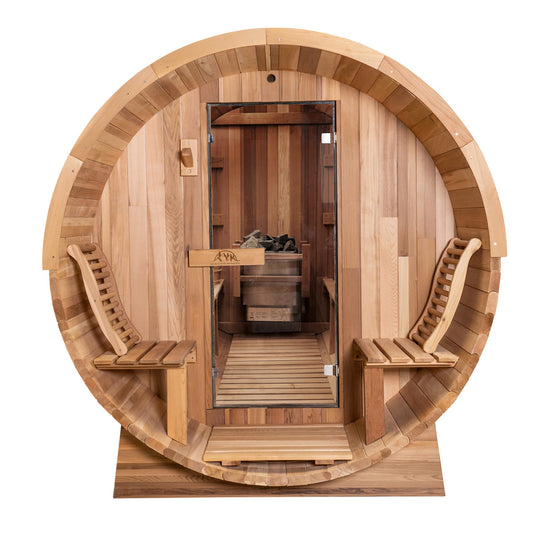
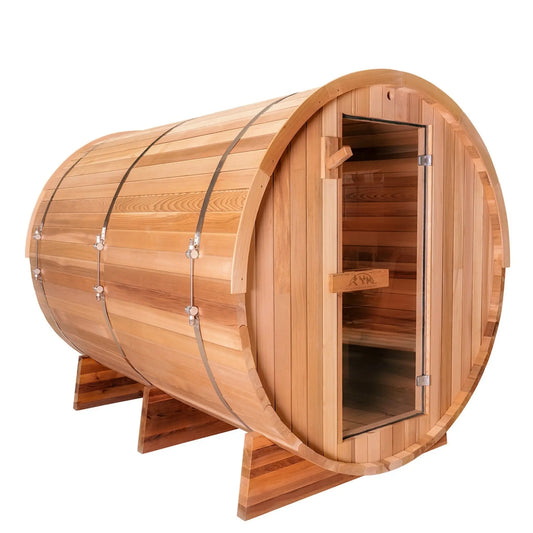
8 FT Classic Red Cedar Barrel Sauna with Porch - 4-6 Person
Regular price $9,199.00 CADSale price $9,199.00 CAD Regular priceUnit price per -
 Sale Ready to Ship Now
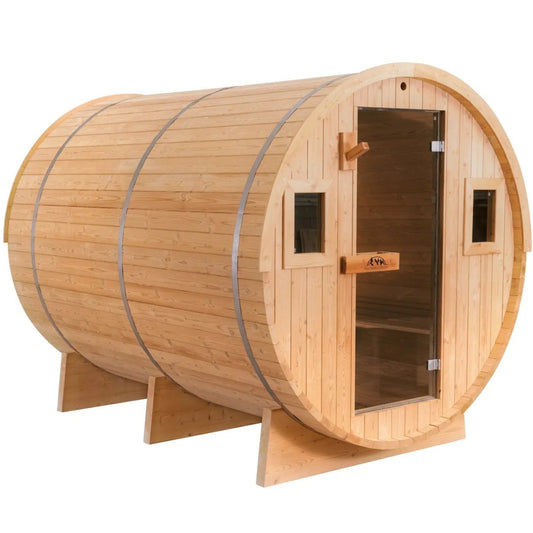
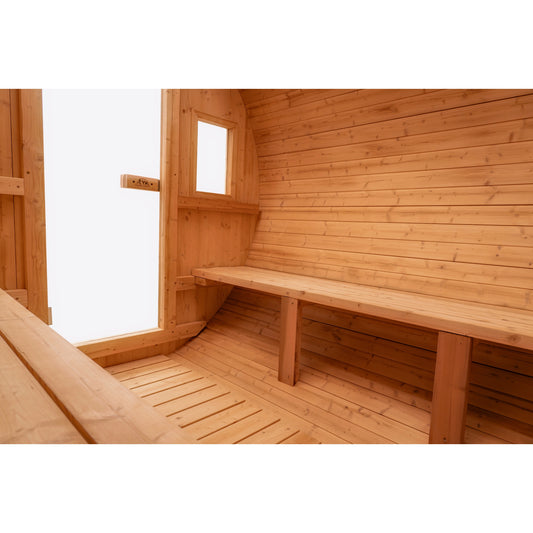
8 FT Classic Thermowood Barrel Sauna - 6-8 Person
Regular price $7,199.00 CADSale price $7,199.00 CAD Regular priceUnit price per$7,499.00 CAD -
 Ready to Ship Now
6 FT Classic Red Cedar Barrel Sauna - 4-6 Person
Regular price $7,699.00 CADSale price $7,699.00 CAD Regular priceUnit price per -

 Ready to Ship Now
8 FT Thermowood Scenic View Barrel Sauna - 6 Person (Extra Wide)
Regular price $11,499.00 CADSale price $11,499.00 CAD Regular priceUnit price per -
 Sale
Sale8 Ft Classic Thermowood Scenic View Barrel Sauna - 6-8 Person
Regular price $8,199.00 CADSale price $8,199.00 CAD Regular priceUnit price per$8,699.00 CAD -
Deluxe Wood Fired Hot Tub With Liner
Regular price $7,999.00 CADSale price $7,999.00 CAD Regular priceUnit price per -

 Sale Ready to Ship Now
Glamping Geodesic Dome Tent Large 26'
Regular price $9,199.00 CADSale price $9,199.00 CAD Regular priceUnit price per$9,499.00 CAD


Proudly Canadian 🍁
At Backcountry Recreation, our Canadian heritage is our pride and guiding star, deeply influencing our commitment to excellence. Rooted in the rich traditions and values of Canada, we aim to reflect these in our dedication to quality and exceptional customer service. Inspired by Canada's beauty and resilience, we strive to deliver world-class products and experiences, exceeding expectations and building lasting relationships within our community.